Now you have two simple options to create your account.
1. Social Sign-On
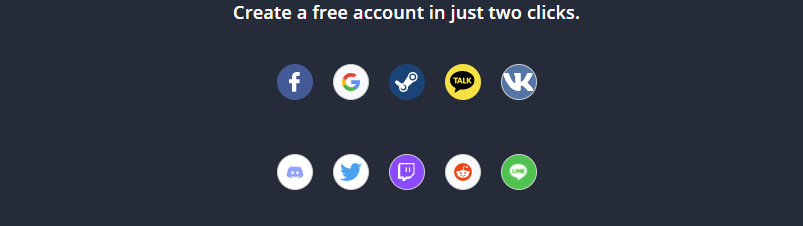
The simplest way to create your WAX wallet is to link to your favourite social platform.
Simply select from the available list:
Social Sign-On Options
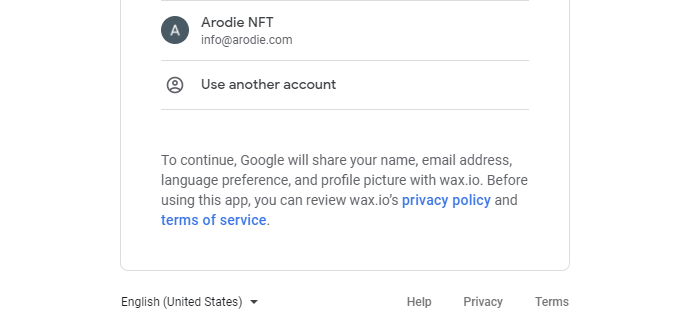
In this example, we will choose Google.
Once clicked, you will be asked login to the Google account you want to connect to:
If you aren't already signed into your account, you will be asked for your Google account password. If you are already signed in, you will go straight to the next step.
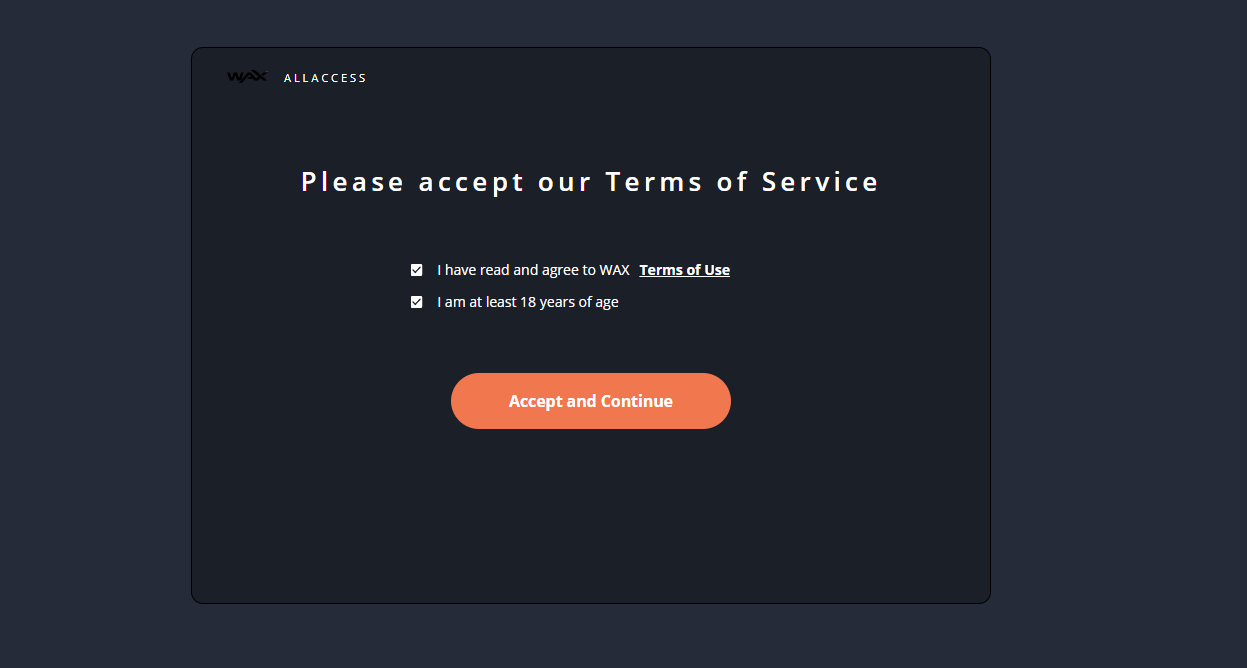
Here we just need to accept the WAX account terms of service by ticking the two boxes:
WAX Terms of Service
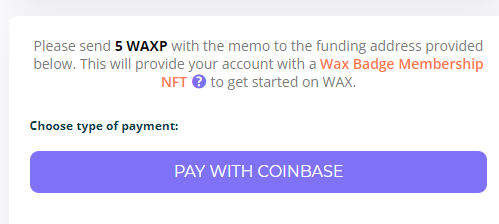
Now you need to pay 5 WAXP to open your account.
2. Pay 5 WAXP to open your account
Coinbase
If you have a coinbase account, it's easy to pay using the 'Pay with coinbase' option.
When you ready, simply click the 'Pay with coinbase' button:
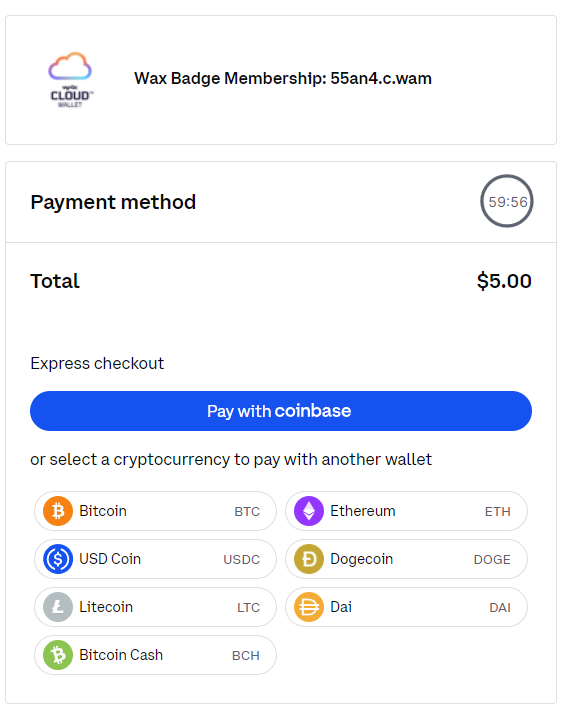
When you click on this, you can pay $5 to open the account through the express checkout. Though this method is more expensive.
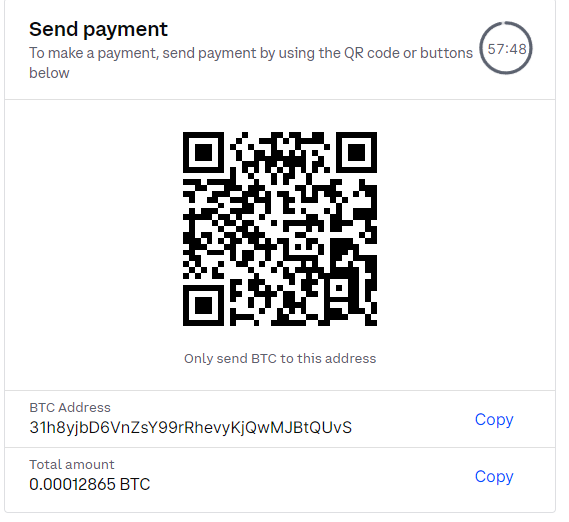
You can also choose to pay with any of the advertised cryptocurrencies. When you click on one, say Bitcoin, it will show you the address and amount to send to:
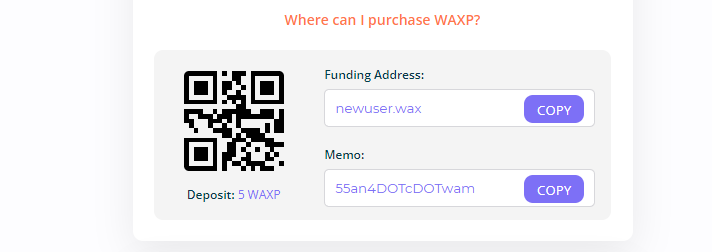
Don't want to use Coinbase?
If you don't want to use Coinbase, you can use other crypto exchanges.
Once you have your WAX, simply use the funding address details along with your unique Memo to send the 5 WAX which will activate your account.
Don't use the memo above, this is unique to me, only use the memo provided to you.
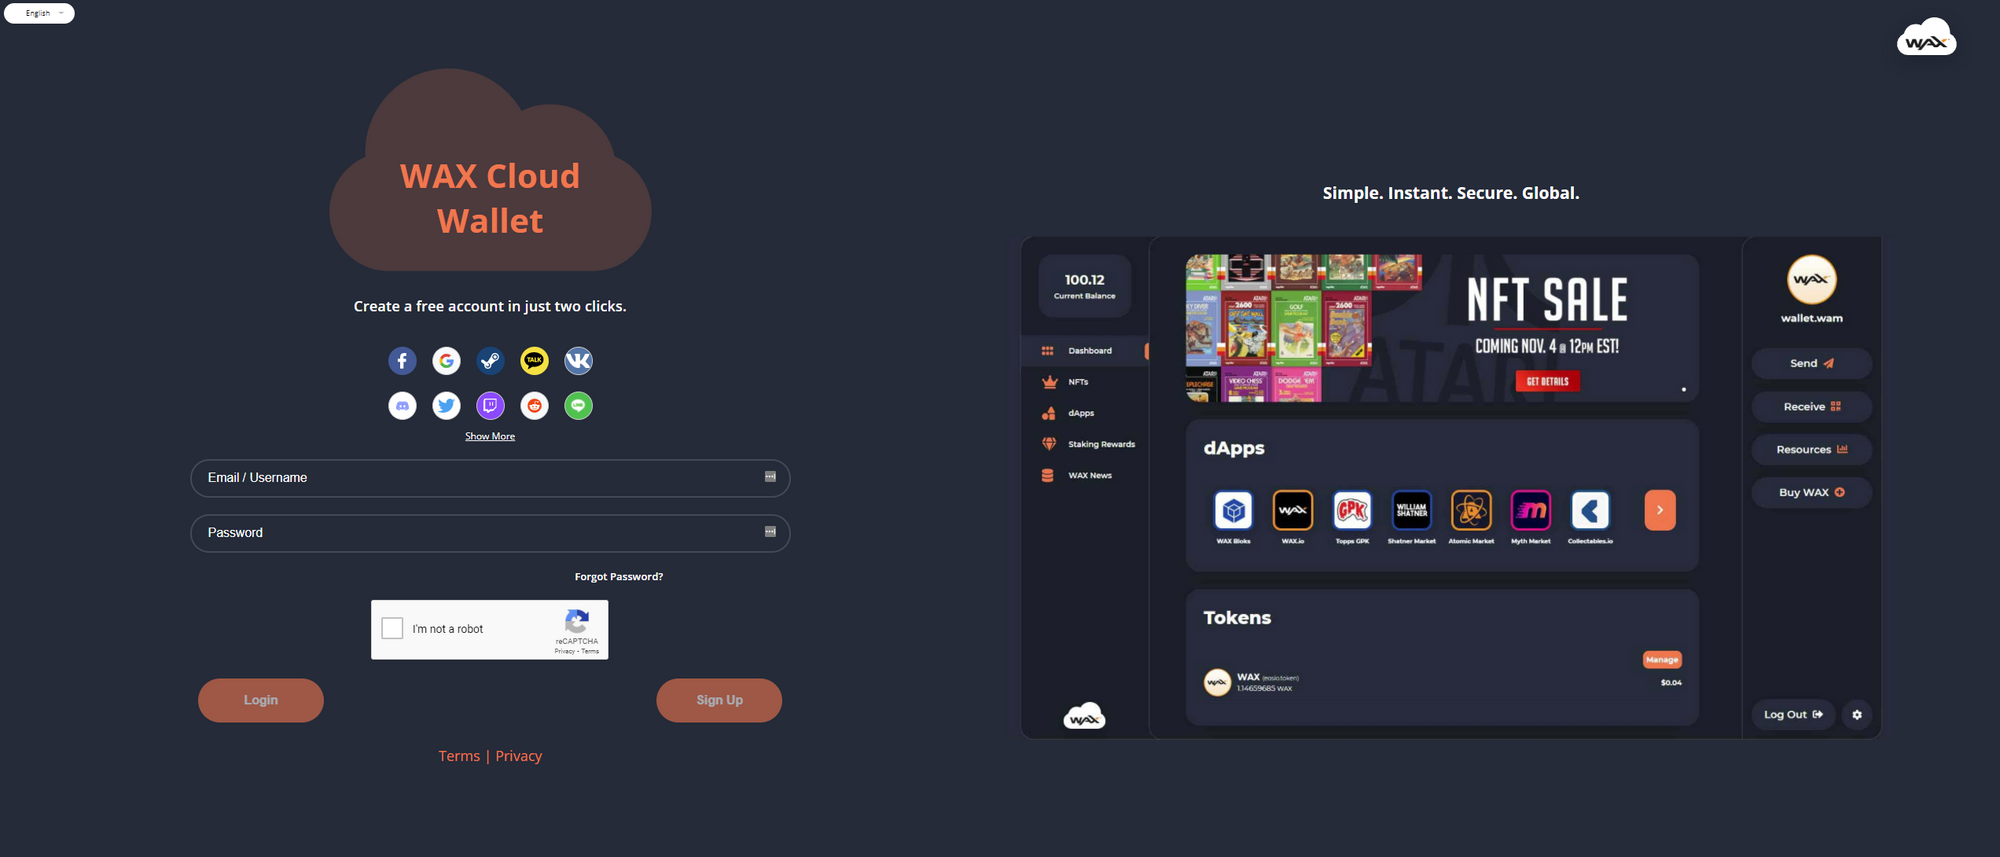
3. Getting to know your WAX wallet
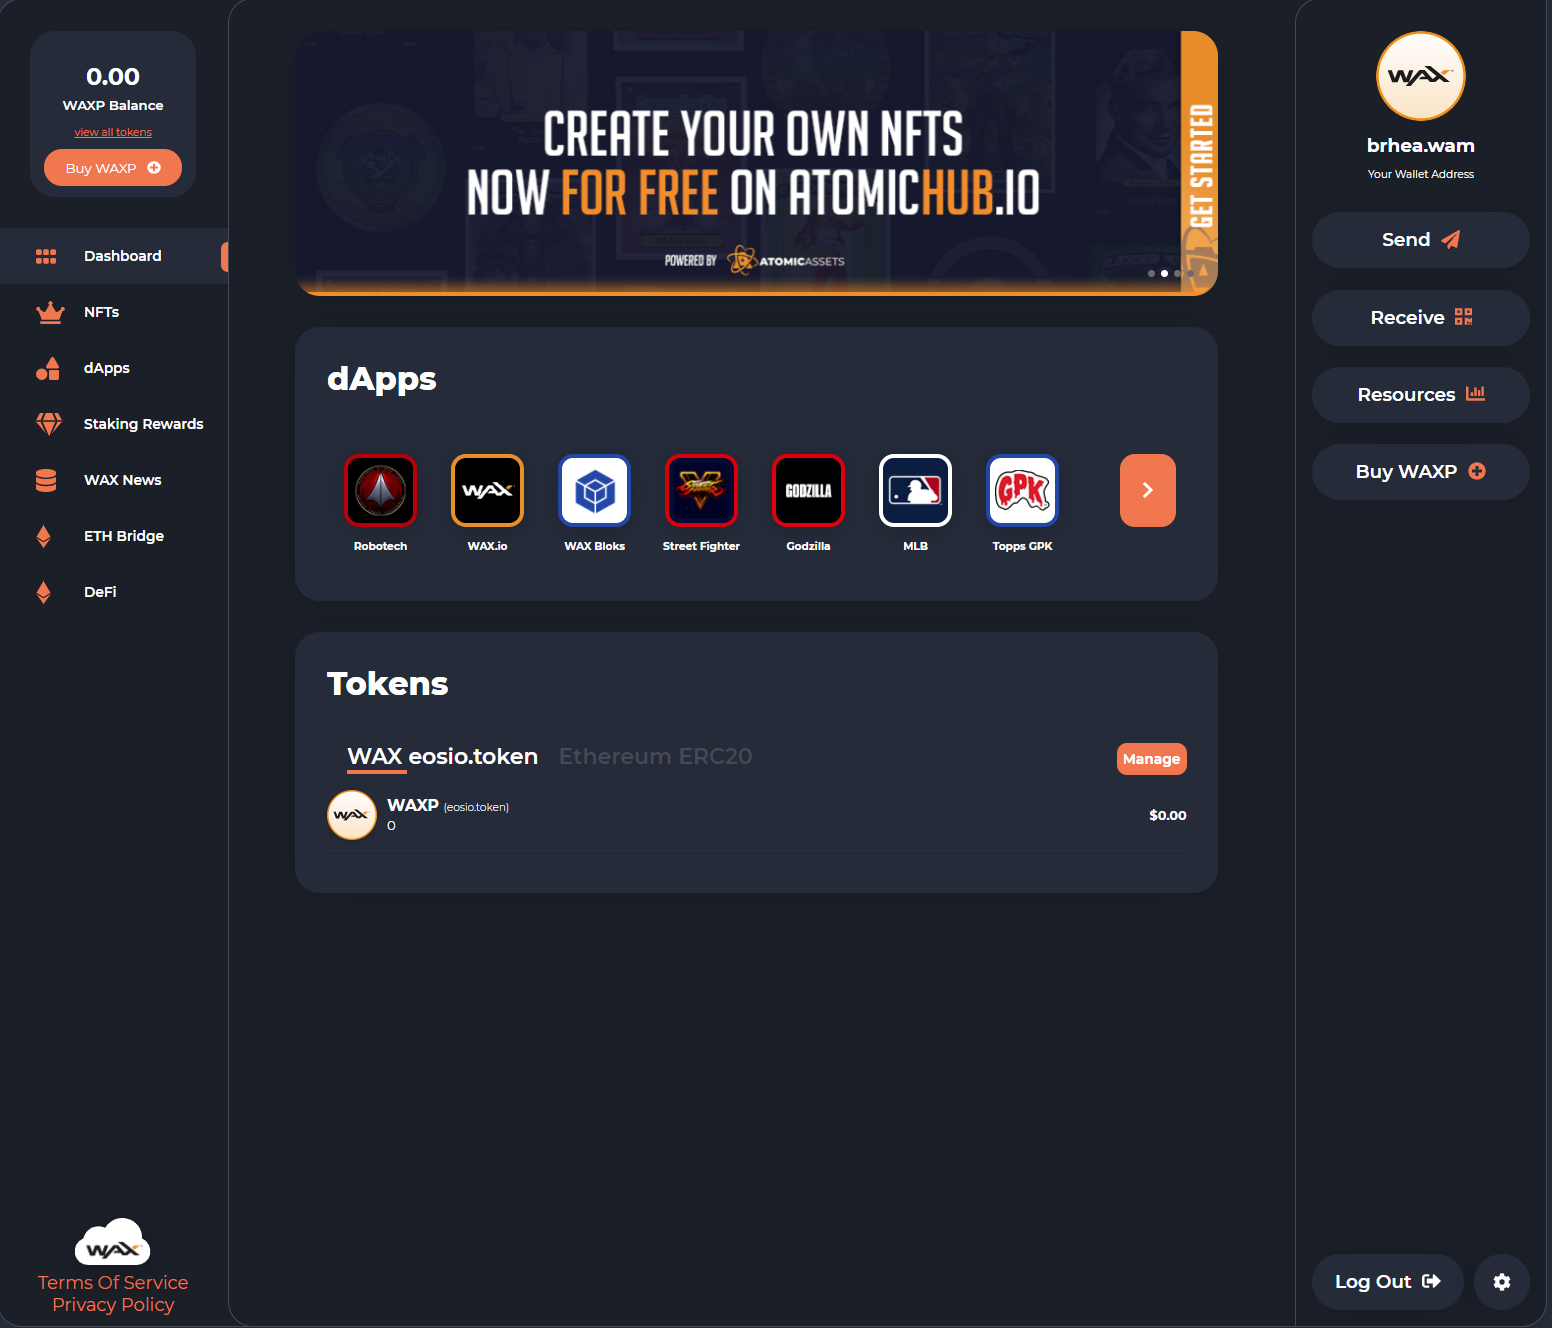
Once your wallet is created, you will be taken straight to your wallet dashboard:
WAX Wallet Dashboard
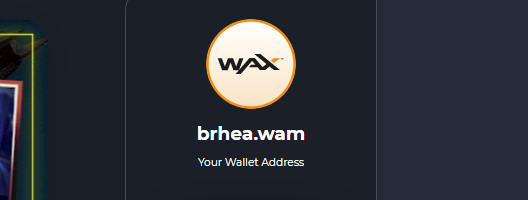
In the top right-hand corner, you will see your wallet address:
Wallet Address
This is really important. You will need this wallet address to send and receive WAX and NFT's.
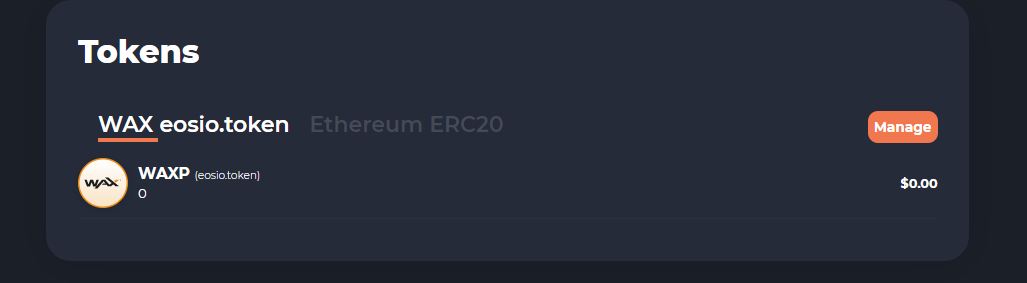
In the middle of your dashboard, you will see your WAX balance, along with a $ value:
WAX balance
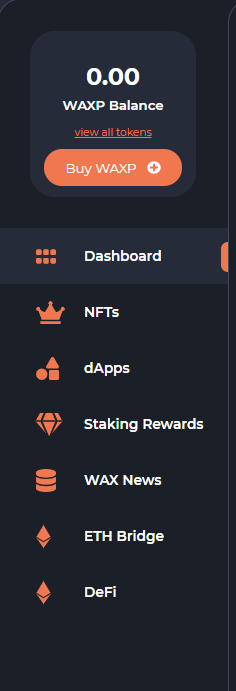
Over to the left-hand panel, you have some other menu items:
Your WAX balance will be displayed at the top of this panel. We won't cover all the options here, we will leave that to the WAX wallet advanced tips and tricks.
The main options here is your dashboard (which you are on) and your NFTs wallet.
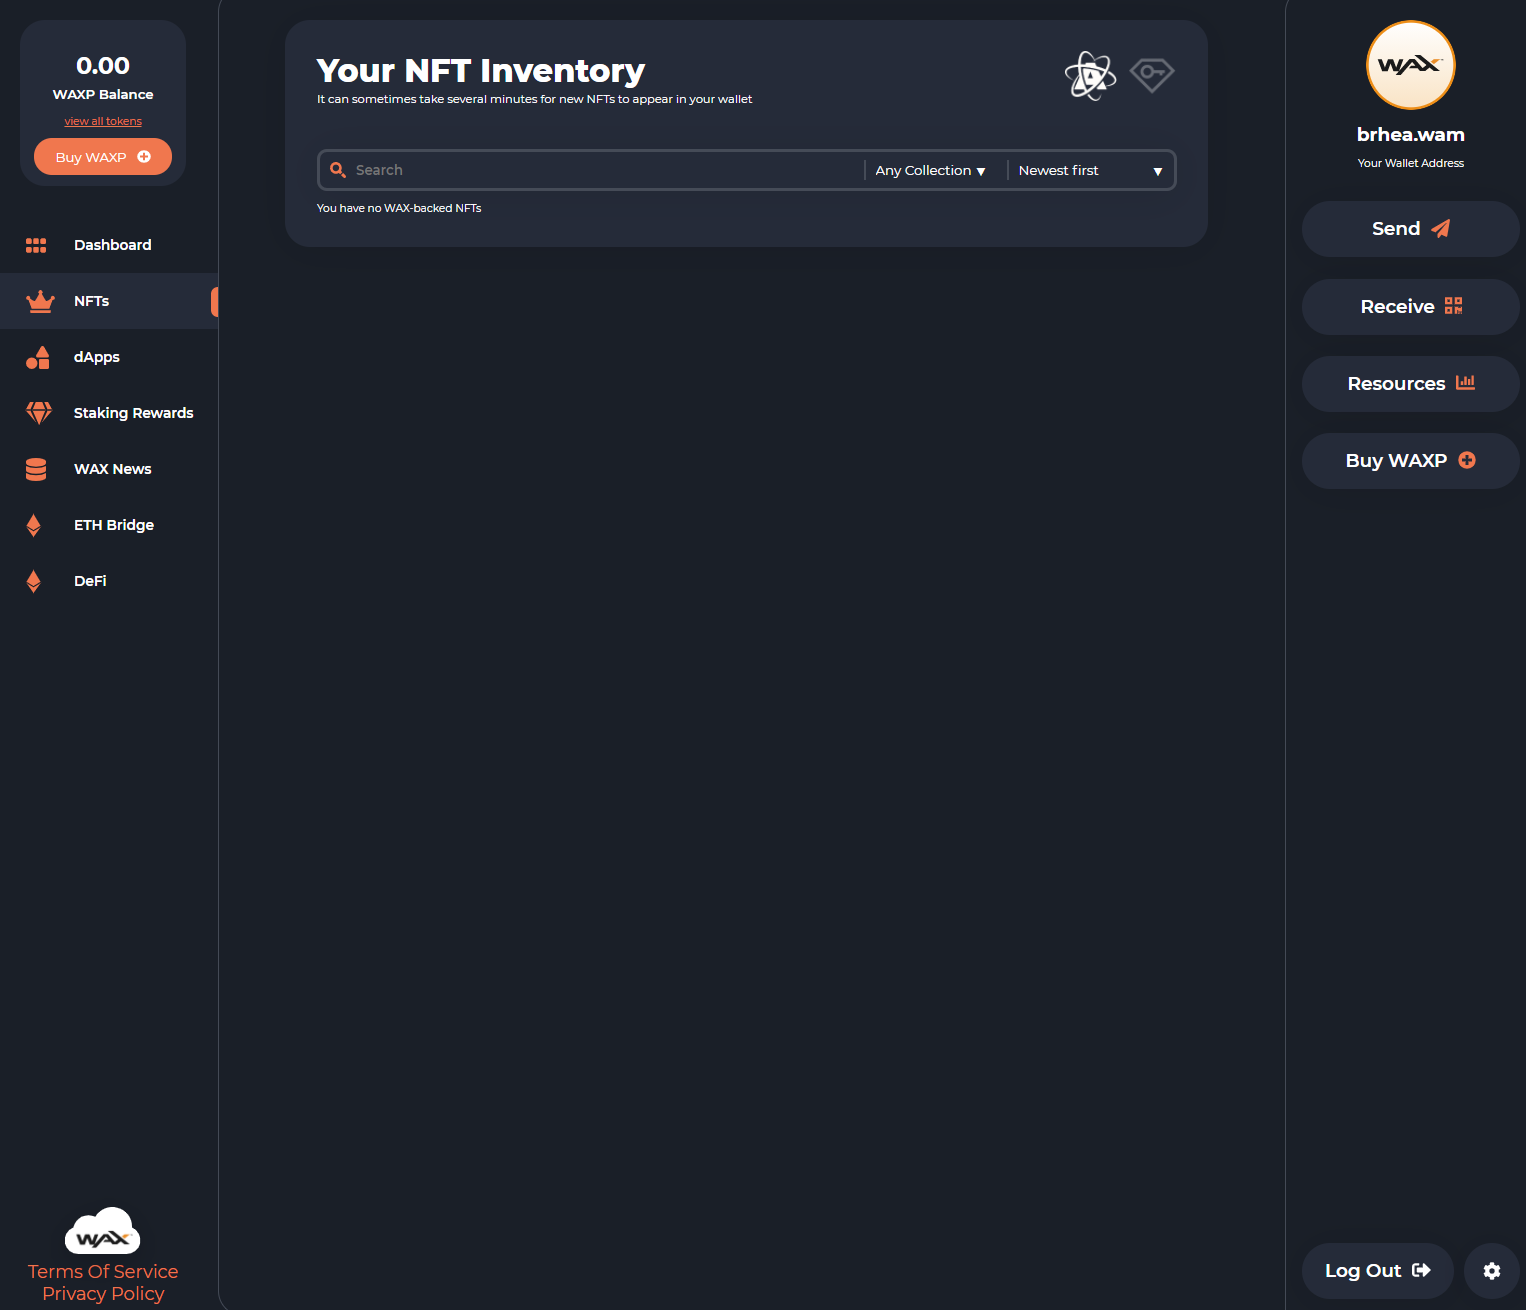
Tap on the NFTs menu item:
NFTs Wallet
Here your NFTs will be displayed. We don't have any right now until we buy our very first NFT.
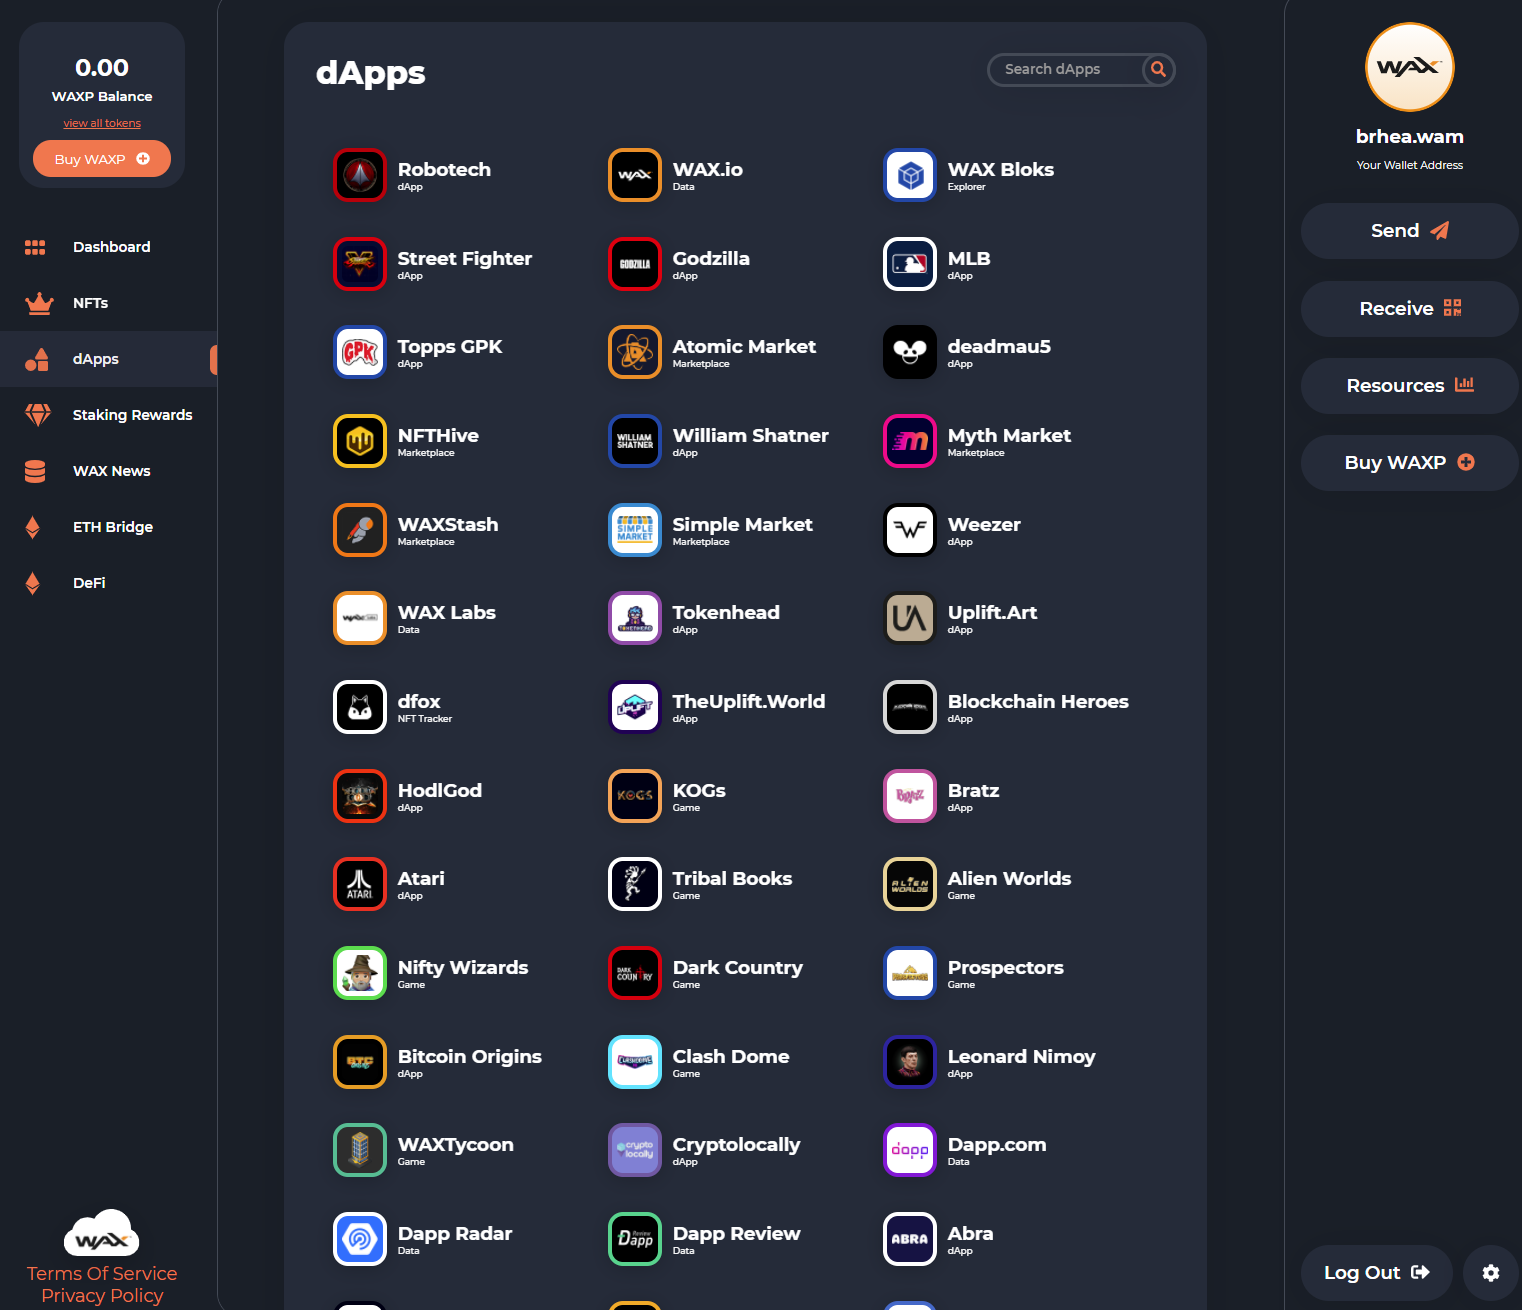
dApps is also worth a mention here, another option in the left panel. These show the various apps you can pair with your wallet:
dApps for WAX Wallet
These apps connect your wallet to various services, such as the Atomic Market: a place for buying and selling NFTs.
Back over to the right-hand side, we have some important options.
Send - This allows us to send WAX to another Wallet.
Receive - Displays a QR code and our WAX wallet to receive WAX from a crypto exchange or another wallet.
Resources - This allows us to purchase blockchain resources such as CPU, NET and RAM. Eventually, you will be notified when you have used all your available resources and you can simply top up from here.
Buy WAXP - Links to services to buy WAX.
3. Buying WAXP
Next, you are going to need to load up your account with WAX.
I love retro and being at the cutting edge, always willing to give time and thought to anything and everything. Arodie is an extension of me, exploring all corners of Pop Culture collectibles.